RV Tire Maintenance Schedule: Rotation, Inspection, and Storage Intervals

Salem Hassan founded Travelcamp RV and brings 30+ years of hands-on RV, marine, and powersports experience to every review.
✎ Reviewed by Salem Hassan — Founder, Travelcamp · 30+ years in RV, marine, and powersports
Why trust us
RVGearInsider articles are researched by the Searchshop Editorial team with a full-timer's lens — evaluating gear for year-round use, not weekend trips. We assess every recommendation against the demands of full-time living: sustained power draw, weight budget, water system integration, and long-term durability. We may earn a commission on qualifying purchases; it does not change what we recommend.


RV tires carry a heavy load, sit for long periods, and often age out before they wear out. That makes a clear rv tire care maintenance rotation schedule one of the most valuable maintenance routines any owner can follow. At RVGearInsider, we researched the most common causes of tire failure, reviewed manufacturer guidance, and evaluated best practices used by experienced RV owners and service shops. The result is a practical schedule you can actually use.
Whether you tow a travel trailer, haul a fifth wheel, or drive a motorhome, regular tire care helps prevent blowouts, uneven wear, handling problems, and expensive roadside repairs. It also protects nearby RV components, since a failed tire can damage wheel wells, plumbing, wiring, skirting, and body panels in seconds.
Maintenance Schedule

Below is a simple, repeatable rv tire care maintenance rotation schedule you can follow. We kept the interval badges consistent so it is easy to scan before a trip or during storage season.
| Interval | Task | What to Check | Est. Time |
|---|---|---|---|
 Daily Daily |
Pre-trip walkaround | Visible damage, low tire appearance, embedded objects, valve cap present, obvious uneven wear | 5–10 min |
| Daily |
Cold inflation check before travel day | PSI matches load/inflation target, no leaking valve stems, TPMS readings normal | 10–15 min |
| Weekly | Tread and sidewall inspection | Cuts, bulges, cracks, punctures, irregular wear, stone retention in grooves | 10–20 min |
| Weekly | Wheel area check | Lug nut condition, grease or brake dust anomalies, hub heat after travel | 10 min |
| Monthly | Pressure verification with calibrated gauge | Compare manual gauge to TPMS, adjust for actual axle load requirements | 15 min |
| Monthly | Tire position and wear review | Shoulder wear, center wear, feathering, cupping, axle-to-axle differences | 15–30 min |
| Monthly | Storage condition check | Tire covers secure, no standing water, blocks/pads in place, no prolonged ground moisture contact | 10 min |
| Annually | Rotation review and service | Rotate if tire type, axle setup, and manufacturer guidance allow; inspect balance and alignment needs | 1–2 hr |
| Annually | Professional inspection | Internal condition if dismounted, age verification, valve stems, alignment, suspension wear | 1–2 hr |
| Annually | Age and date code review | DOT date code, replacement planning window, signs of weathering | 10 min |
| As-needed | Rebalance or alignment correction | Vibration, pull, rapid uneven wear, steering shake, cupping | 1–2 hr |
| As-needed | Puncture repair or replacement | Nail/screw location, repairability, sidewall damage, air loss rate | 30–90 min |
| As-needed | Storage prep before long parking period | Inflate to storage target, clean tires, cover from UV, move RV periodically if possible | 30–60 min |
Why Regular Maintenance Matters
RV tire neglect is expensive because tire problems rarely stay limited to the tire itself. Underinflation builds heat, overloading overstresses sidewalls, UV exposure dries out rubber, and long storage periods can create flat spotting or sidewall cracking. A single failure on the road can mean:
- Emergency roadside service fees
- Damage to fenders, underbody panels, or brake wiring
- Lost travel time and disrupted reservations
- Premature replacement of a full tire set
- Reduced fuel economy and less predictable handling
The return on upkeep is easy to see. A few minutes spent checking pressure, tread condition, and age can help you get the full service life your tires were designed to deliver. We recommend treating tire care as both a safety task and a budget-protection task. Good maintenance also improves ride quality, braking stability, and towing confidence.
⚠️ Tire pressure should always be checked when tires are cold unless the manufacturer specifically states otherwise.
Tools & Supplies You'll Need

We recommend keeping a dedicated tire-care kit in your RV or tow vehicle. Useful items include:
- Milton S-921 dual-head truck tire gauge, 10–160 PSI range
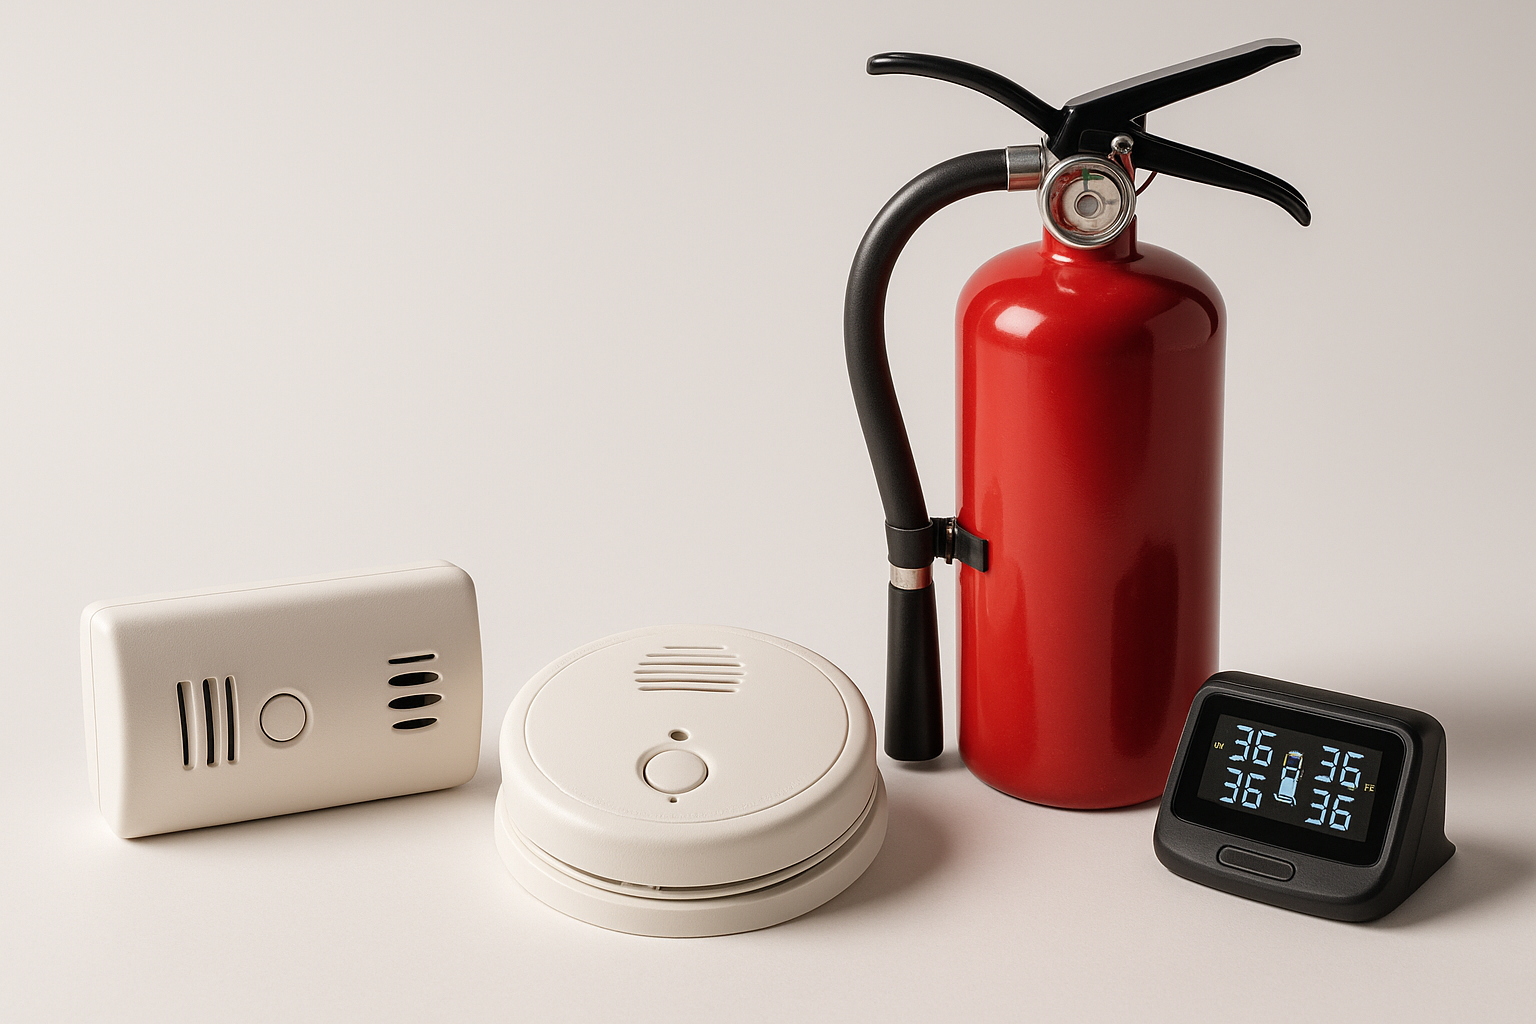
- TST 507 TPMS or equivalent RV-rated tire pressure monitoring system
- Viair 400P-RV automatic portable compressor kit, suitable for higher-pressure RV tires
- Torque wrench, typically 50–250 ft-lb range, matched to your wheel fastener spec
- Deep impact socket set sized for your RV lug nuts
- Valve stem tool and spare high-pressure valve caps with seals
- Tire tread depth gauge, digital or manual
- Wheel chocks, heavy-duty rubber or reinforced polymer
- Andersen levelers or equivalent leveling blocks
- RV tire covers, UV-resistant vinyl or polyester, sized to your tire diameter
- 303 Aerospace Protectant for exterior rubber-adjacent surfaces; avoid using dressings that are not approved for tire tread or sidewall application
- Mild soap, soft brush, and microfiber towels for cleaning
- Portable infrared thermometer for comparing tire and hub temperatures after travel
- Creeper pad or kneeling pad for easier inspections
- Jack and jack stands rated for your RV, only if your manufacturer permits owner lifting procedures
⚠️ Never rely on a stabilizer jack or leveling jack as a substitute for properly rated lifting equipment when working around wheels.
Detailed Step-by-Step Instructions
Daily Pressure and Pre-Trip Checks
- Park on level ground whenever possible. This gives you more accurate visual checks and safer access around the RV.
- Inspect each tire before moving. Look for obvious low pressure, sidewall bulges, nails, screws, cuts, or cords showing.
- Check cold tire pressure. Use a calibrated gauge before driving, ideally in the morning or after the RV has been parked for several hours.
- Compare pressure to your target, not just the sidewall maximum. Your actual target should be based on your loaded axle weights and the tire manufacturer’s load/inflation chart.
- Confirm valve caps are installed. Missing caps allow dirt and moisture to reach the valve core.
- Review TPMS readings. Make sure no sensor is missing and no tire is showing a slow leak or unusual temperature.
- Scan the ground under each tire. Look for fresh rubber dust, fluid contamination, or signs a tire has been dragging or scrubbing.
- Check duals carefully if your RV has them. Inner dual tires are easy to miss and often run hotter when underinflated.
⚠️ Do not bleed air from a hot tire just because pressure increased after driving. Heat-related pressure rise is normal.
Weekly Tire Inspection
- Turn the steering wheel for better access on motorhomes or inspect from multiple angles on towables.
- Examine the full sidewall surface. Look for weather checking, ozone cracks, bubbles, abrasions, or impact damage from curbs.
- Inspect the tread face. Remove stones or debris lodged in grooves and note any punctures.
- Measure tread depth across the tire. Check inner edge, center, and outer edge to spot inflation or alignment issues.
- Compare wear patterns side to side. One tire wearing faster than its mate often points to load imbalance, alignment issues, or suspension wear.
- Inspect valve stems. Rubber stems should not be cracked, and metal stems should be tight and straight.
- Look at the wheel itself. Check for rust trails, cracks, bent flanges, or elongated lug holes.
- After a drive, compare temperatures. Use an infrared thermometer to compare each tire and hub. One tire running much hotter than others needs attention.
Monthly Wear and Rotation Review
- Record each tire position. Label them by location, such as LF, RF, LR curbside, LR roadside, spare, and so on.
- Document pressure and tread depth. A simple notebook or maintenance app helps you spot trends over time.
- Review wear pattern clues.
- Center wear often suggests overinflation relative to load.
- Shoulder wear often suggests underinflation.
- Feathering may indicate alignment issues.
- Cupping can point to balance, shock, or suspension problems.
- Determine whether rotation is appropriate. Not every RV setup follows a standard passenger vehicle rotation pattern. Some trailer tire manufacturers allow side-to-side or axle-to-axle rotation, while some motorhome applications may have stricter limitations.
- Check your owner’s manual and tire maker guidance. We recommend confirming approved rotation patterns before moving any tire.
- Inspect the spare. Verify age, pressure, and condition. A neglected spare may be unusable when needed most.
- Plan service if wear is uneven. Rotation alone will not fix alignment, bent components, or chronic overloading.
⚠️ If you see exposed cords, a bulge, or a sidewall cut, replace the tire immediately rather than rotating it.
Annual Rotation and Professional Service
- Schedule a yearly tire service appointment. Ask for an RV-capable shop familiar with your tire size, load range, and wheel torque requirements.
- Have the tires removed if needed for full inspection. Internal damage is not always visible from the outside.
- Request balance and alignment evaluation. This is especially important if you feel vibration, steering pull, or see cupping.
- Replace valve stems when appropriate. High-pressure stems and seals age too, especially on heavier RV applications.
- Torque lug nuts to spec. Use the wheel manufacturer or chassis manufacturer specification, not a generic chart.
- Re-torque after service if required. Many manufacturers call for a recheck after the first 50 to 100 miles.
- Review tire age. Even if tread looks good, aging may justify replacement based on manufacturer guidance and usage conditions.
- Inspect suspension components. Worn bushings, shocks, equalizers, and bearings can all create tire wear problems.
Long-Term Storage Preparation
- Wash the tires with mild soap and water. Remove road grime, salts, and contaminants before storage.
- Let the tires dry fully. Moisture trapped under covers can encourage deterioration around wheels and brakes.
- Inflate to the proper storage pressure. Use the manufacturer-recommended pressure for the load condition and storage setup.
- Park on a clean, firm surface. We recommend using pads or blocks if the RV will sit on concrete, asphalt in extreme heat, gravel, or damp ground.
- Install UV-resistant tire covers. Sun exposure is one of the biggest contributors to sidewall aging.
- Avoid petroleum-based tire dressings. These can do more harm than good if not specifically approved.
- Move the RV periodically if practical. Slight movement helps reduce long-term flat spotting during extended storage.
- Check pressure monthly during storage. Tires naturally lose air over time, even when parked.
- Inspect before returning to service. Remove covers, verify pressure, examine sidewalls, and confirm no cracking or rodent-related damage nearby.
⚠️ If you store your RV with significant load on one side due to poor leveling, that side’s tires may age and deform faster.
Signs You've Waited Too Long
Sidewall Cracking Is Visible
Fine surface checking can progress into deeper cracking that weakens the tire structure. If cracks are easy to see from standing distance, the tire is already telling you age and exposure are catching up.
Uneven Wear Is Severe
If one shoulder is bald while the rest of the tread looks usable, or if cupping is pronounced, you are past the point where simple pressure adjustment will solve the issue.
The RV Feels Unstable or Wanders
Loose steering feel, trailer sway that has worsened, or a sudden need for constant correction can point to tire condition, inflation mismatch, or structural tire problems.
Repeated Pressure Loss Keeps Happening
A tire that needs frequent topping off may have a puncture, valve issue, bead leak, or internal damage. Repeated air loss should never be normalized.
One Tire Runs Hotter Than the Others
A noticeably hotter tire or hub after a drive can indicate underinflation, overloading, brake drag, bearing trouble, or internal tire failure.
The Tire Is Aging Out
Many RV tires are replaced due to age before tread is worn down. If the DOT date code shows the tire is approaching the replacement window recommended by the manufacturer, it is time to plan ahead.
You See Bulges, Blisters, or Exposed Cords
These are immediate replacement conditions. Do not drive on a tire showing structural failure signs.
Frequently Asked Questions
How often should RV tires be rotated?
It depends on the RV type, tire type, and manufacturer guidance. We recommend reviewing tire position and wear monthly, then performing rotation annually only if the tire maker and RV manufacturer allow it. Some trailer setups benefit from periodic rotation, while some motorhome applications may be more limited.
Is tire rotation always necessary on an RV?
No. Rotation is useful when it helps even out wear, but it is not a cure-all. If the root cause is alignment, suspension wear, brake drag, or overloading, those issues must be fixed first.
How often should we check RV tire pressure?
We recommend a quick pressure check before every travel day and a fuller verification at least monthly with a calibrated manual gauge, even if you use a TPMS.
What is the best pressure for RV tires?
The best pressure is the one that matches your actual loaded axle weights and the tire manufacturer’s load/inflation table. The sidewall number is not automatically the correct operating pressure for every setup.
How long do RV tires last?
Service life varies by storage conditions, UV exposure, load, speed, and maintenance habits. Many RV owners replace tires based on age rather than worn tread. We recommend checking the DOT date code annually and following both tire and RV manufacturer guidance.
Should we cover RV tires during storage?
Yes. We recommend using properly sized UV-resistant covers whenever the RV will sit for extended periods outdoors. This helps reduce sun-related sidewall aging.
Can we use household cleaners or tire shine products on RV tires?
We do not recommend harsh cleaners or random dressings. Stick with mild soap and water for cleaning, and avoid products that are not approved for tire use.
What is the biggest mistake RV owners make with tire maintenance?
Based on what we researched, the most common mistake is assuming tires are fine because the tread looks good. RV tires often fail from age, underinflation, overloading, or storage damage long before the tread is gone.
A dependable rv tire care maintenance rotation schedule does not have to be complicated. If we stay consistent with daily pressure checks, weekly inspections, monthly wear reviews, annual professional service, and proper storage prep, we give our RV tires the best chance at a long and safe service life. That small investment of time can prevent some of the most expensive and dangerous problems an RV owner will face.
Get your free Get Our Free Full-Timer's Gear Guide
The no-fluff gear list trusted by full-time RVers — tested in real conditions across North America.
Recommended Products