How to Sanitize Your RV Fresh Water Tank Safely

Alana Azzouz is a Senior Editor at Searchshop Media Network with over a decade of experience in consumer content quality and editorial standards. She has reviewed thousands of product guides, buying articles, and comp…
✎ Reviewed by Alana Azzouz — Senior Editor
Why trust us
RVGearInsider articles are researched by the Searchshop Editorial team using manufacturer specs, independent expert sources, and owner feedback. Our goal is simple: when an RVer searches for gear, the recommendations they read online should match what a knowledgeable dealer or experienced owner would actually suggest. We may earn a commission on qualifying affiliate purchases; it doesn't influence what we recommend — if a product changes or a better option comes along, the article changes too.

How to Sanitize Your RV Fresh Water Tank Safely
If you’ve been searching for how to sanitize rv fresh water tank systems without damaging plumbing, hoses, or fixtures, the good news is that the process is simple when done correctly. We’ve tested several RV water maintenance routines over the years, and a careful tank sanitizing schedule is one of the easiest ways to keep your water system fresh, safe, and odor-free.
In this guide, we’ll walk through when to sanitize, what tools to use, how much bleach to add, and the exact steps we recommend for most RVs.
RV Water Sanitizing Product Comparison Table

If you don’t want to use standard bleach alone, there are a few helpful products that make the job easier.
| Product Type | Best Use | Pros | Cons | Who It’s Best For |
|---|---|---|---|---|
| Unscented household bleach | Full tank sanitizing | Affordable, easy to find, proven method | Must measure carefully, strong smell | Most RV owners on a budget |
| RV tank sanitizer solution | Convenient seasonal cleaning | Pre-measured, RV-specific formulas, often less odor | More expensive than bleach | Owners who want a simpler process |
| Inline water filter | Improving taste after sanitizing | Reduces sediment and chlorine taste | Doesn’t sanitize tank by itself | Full-timers and frequent travelers |
| Water pressure regulator | Protecting plumbing while flushing | Prevents hose and fitting damage | Not a sanitizer | Anyone using campground hookups |
Why Sanitizing Your RV Fresh Water Tank Matters
Your RV’s fresh water tank is a dark, enclosed space that can sit unused for weeks or months. That makes it a prime environment for:
- Bacteria growth
- Algae or biofilm buildup
- Musty odors
- Stale-tasting water
- Contamination after storage or repairs
We recommend sanitizing the system:
- At the start of camping season
- After winter storage
- Any time the RV has been unused for a month or more
- After filling from an unknown water source
- After plumbing repairs or replacing filters
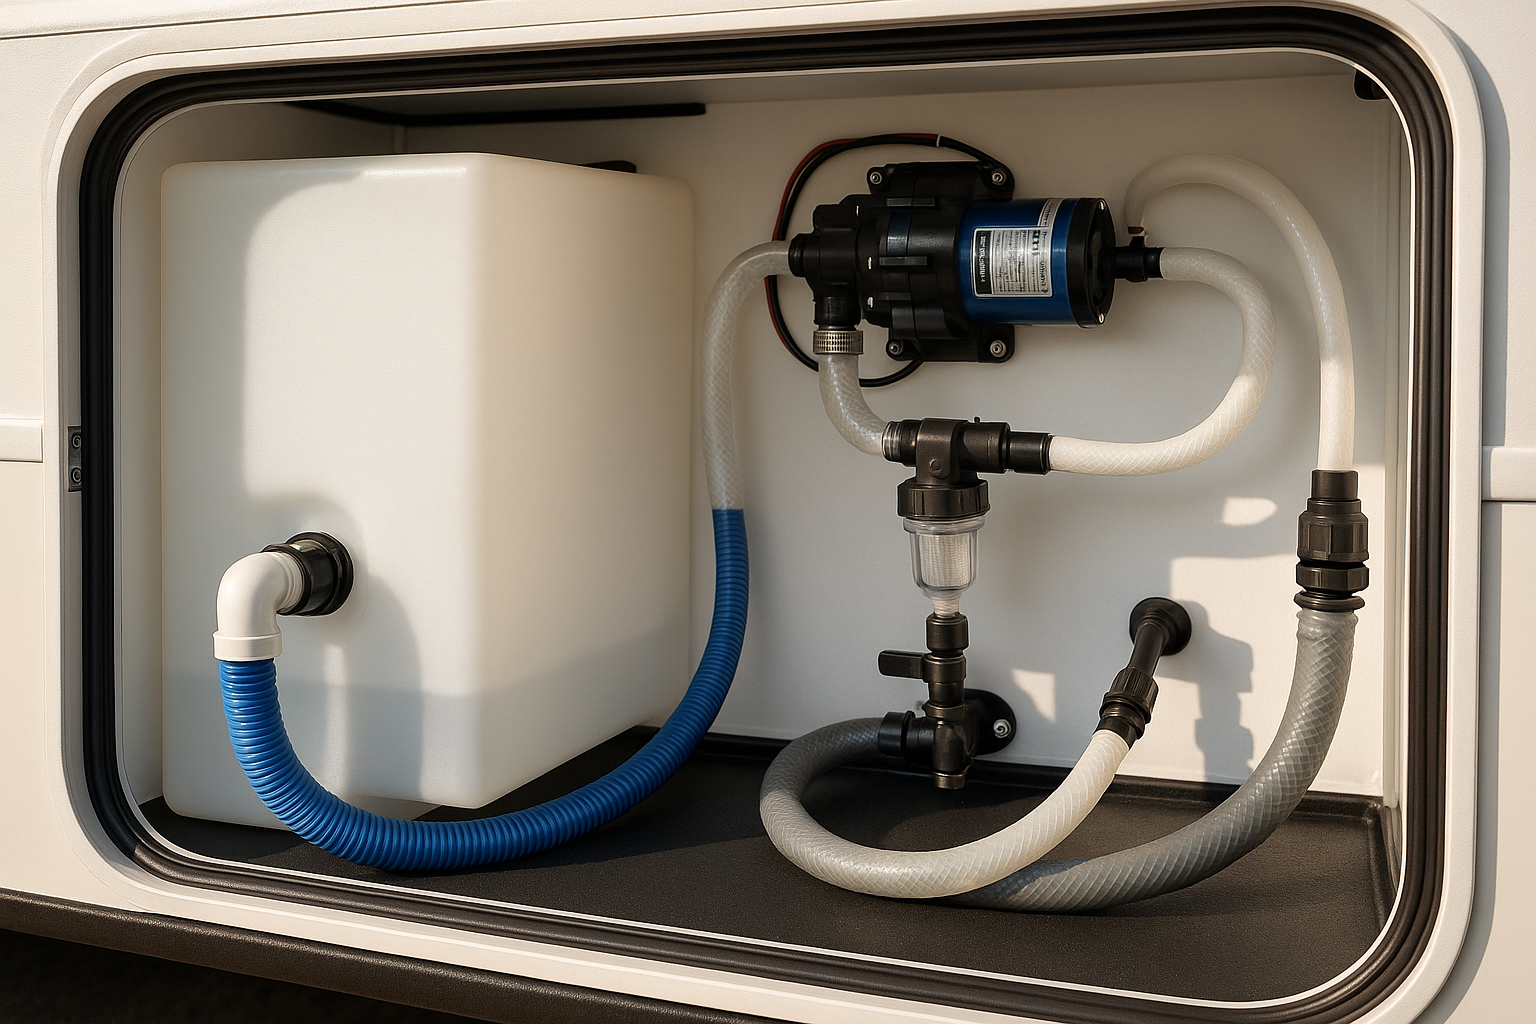
Tools and Materials You’ll Need

Before we start, gather everything in one place.
Basic Supplies
- Unscented household bleach
- Clean measuring cup
- Funnel or water hose fill adapter
- Fresh potable water hose
- Rubber gloves
- Safety glasses
- Bucket or container for mixing
Helpful Extras
- Water pressure regulator
- Inline water filter
- Tank rinser wand if your RV allows it
- Replacement water filter cartridges
Who It’s For
This process is best for:
- New RV owners learning basic maintenance
- Seasonal campers opening their rigs after storage
- Full-timers maintaining safe drinking water
- Anyone noticing odor, bad taste, or stale water from the taps
It may not be enough if:
- Your tank has visible damage or heavy contamination
- You suspect mold in lines beyond normal sanitizing range
- Your water pump or plumbing has mechanical issues
In those cases, we recommend a deeper inspection or professional RV service.
How Much Bleach to Use in an RV Fresh Water Tank
A common guideline is 1/4 cup of unscented bleach for every 15 gallons of tank capacity. That produces a sanitizing solution strong enough for routine cleaning without being excessive for most RV plumbing systems.
Quick Bleach Ratio Guide
- 15 gallons: 1/4 cup
- 30 gallons: 1/2 cup
- 45 gallons: 3/4 cup
- 60 gallons: 1 cup
- 75 gallons: 1 1/4 cups
Always check your owner’s manual first. Some manufacturers provide their own dilution recommendations.
Safety Tips Before You Begin
Before sanitizing, we recommend a few precautions.
Use Only Unscented Bleach
Do not use splashless, scented, gel, or bleach products with added cleaners. Standard unscented household bleach is the safest choice for this job.
Protect Your Skin and Eyes
Wear gloves and safety glasses when handling concentrated bleach.
Never Mix Bleach With Other Chemicals
Do not combine bleach with ammonia, vinegar, or commercial cleaners. Dangerous fumes can result.
Drain Old Water First
Starting with an empty tank gives you a more effective sanitizing cycle.
How to Sanitize RV Fresh Water Tank Systems Step by Step
Here’s the exact process we recommend for most travel trailers, fifth wheels, and motorhomes.
1. Turn Off the Water Heater and Pump
Shut off your water heater and water pump before starting. If the heater has been running, let it cool completely.
This helps prevent damage and keeps the process safer.
2. Drain the Fresh Water Tank and Lines
Open the fresh tank drain and low-point drains. Run each faucet briefly to empty as much old water as possible from the system.
If your RV has a water heater bypass and you don’t want to sanitize the heater tank at the same time, set the bypass according to your owner’s manual.
3. Mix the Sanitizing Solution
Measure the correct amount of unscented bleach based on your tank capacity. Mix it with a gallon or two of clean water in a bucket first.
We recommend pre-diluting bleach rather than pouring it directly into the tank. This helps it disperse more evenly and reduces the chance of concentrated bleach sitting against components.
4. Add the Solution to the Fresh Water Tank
Using a funnel or fill adapter, pour the diluted bleach mixture into the fresh water tank fill.
Then fill the tank the rest of the way with potable water.
5. Run the Solution Through Every Water Line
Turn the water pump back on. Open each faucet one at a time—hot and cold side—until you smell bleach. Don’t forget:
- Kitchen sink
- Bathroom sink
- Shower
- Outdoor shower
- Toilet sprayer or flush line
- Washer prep or ice maker line if equipped
This step ensures the sanitizing solution reaches the full plumbing system, not just the tank.
6. Let It Sit
Allow the solution to remain in the system for at least 4 hours, though overnight is ideal for a full seasonal sanitizing.
If you’re doing routine maintenance and the system was already fairly clean, a shorter soak may be enough. For long-stored RVs, we prefer the overnight approach.
7. Drain the Entire System
Drain the fresh water tank again, along with the low-point drains. Run the faucets until the tank is empty and the lines are mostly cleared.
Dispose of the water responsibly. Avoid dumping heavily chlorinated water onto sensitive grass or near waterways.
8. Refill With Fresh Water and Flush
Refill the tank with clean potable water. Run all faucets again until the chlorine smell fades.
You may need to repeat this flush once or twice, especially in larger tanks.
9. Reinstall or Replace Water Filters
If your RV uses carbon filters, we recommend removing them before sanitizing if the manufacturer allows it. Reinstall or replace them after flushing the system.
Carbon filters can absorb chlorine and may need replacement if they were exposed during the process.
10. Test the Water
Once the odor is gone, taste and smell the water. It should be clean, neutral, and fresh.
If you still notice strong odor, repeat the flush. If you still notice foul taste after flushing, inspect the hose, filter, or source water.
Pros and Cons of Sanitizing With Bleach
Pros
- Inexpensive and widely available
- Proven method for disinfecting RV tanks
- Works through the full plumbing system
- Fast seasonal maintenance task
Cons
- Requires careful measuring
- Can leave temporary chlorine odor or taste
- Not ideal for owners who prefer chemical-free methods
- Overuse may wear components faster over time
Common Mistakes to Avoid
We’ve seen a few issues come up repeatedly.
Using Too Much Bleach
More is not better. Excess bleach can make flushing harder and may be harsh on seals and fittings.
Forgetting Hidden Water Lines
Outdoor showers, toilet sprayers, and appliance lines often get missed. If water flows through it, sanitize it.
Leaving Filters Installed
Some filters trap chlorine and reduce effectiveness. Others may be ruined by the sanitizing process.
Skipping the Final Flush
Even if the system is sanitized, leftover chlorine taste makes the water unpleasant. Flush thoroughly.
Extra Tips for Cleaner RV Water Year-Round
Sanitizing is only part of the picture. We also recommend these habits:
- Use a dedicated potable water hose only
- Store hoses with end caps to keep out dirt and insects
- Replace old or slimy hoses
- Use an inline filter at campground hookups
- Drain the tank before long-term storage
- Sanitize at least every 6 months for frequent use
Final Thoughts
Learning how to sanitize rv fresh water tank systems is one of the most important basic maintenance skills for any RV owner. The process doesn’t take much equipment, costs very little, and can make a major difference in water quality, odor, and peace of mind.
We recommend sticking with unscented bleach, using the correct dilution, and flushing the system thoroughly afterward. Done properly, this routine helps keep your RV water supply ready for your next trip.
FAQ
1. How often should we sanitize an RV fresh water tank?
We recommend at least every 6 months, and always after winter storage, long inactivity, or questionable water fills.
2. Can we use vinegar instead of bleach?
Vinegar can help with odor and mineral issues, but it is not as reliable as bleach for full disinfection. For sanitizing, we recommend the bleach method unless your RV manufacturer specifies another product.
3. Is it safe to drink water from the tank after sanitizing?
Yes, once the system has been flushed thoroughly and the chlorine smell is mostly gone, the water should be safe for normal use if your source water is potable.
4. Do we need to sanitize the water heater too?
That depends on your RV setup and owner’s manual. Some owners sanitize the full system including the heater, while others bypass it during this process.
5. What if the bleach smell won’t go away?
Refill and flush the system again. An inline filter can help improve taste afterward, but repeated fresh-water flushing usually solves the problem.
Get your free Get Our Free Full-Timer's Gear Guide
The no-fluff gear list trusted by full-time RVers — tested in real conditions across North America.